
Think cleaning your cat’s ears is risky or something only a vet should do?
It doesn’t have to be.
A quick 10 to 20 second pre-check and the right supplies make most home cleanings safe, fast, and low-stress for both of you.
This post walks you through exactly what to look for before you start, a simple step-by-step cleaning routine, how often to do it, what to watch for afterward, and clear warning signs that mean you should call your vet.
Essential At-Home Steps for Cleaning Your Cat’s Ears Safely
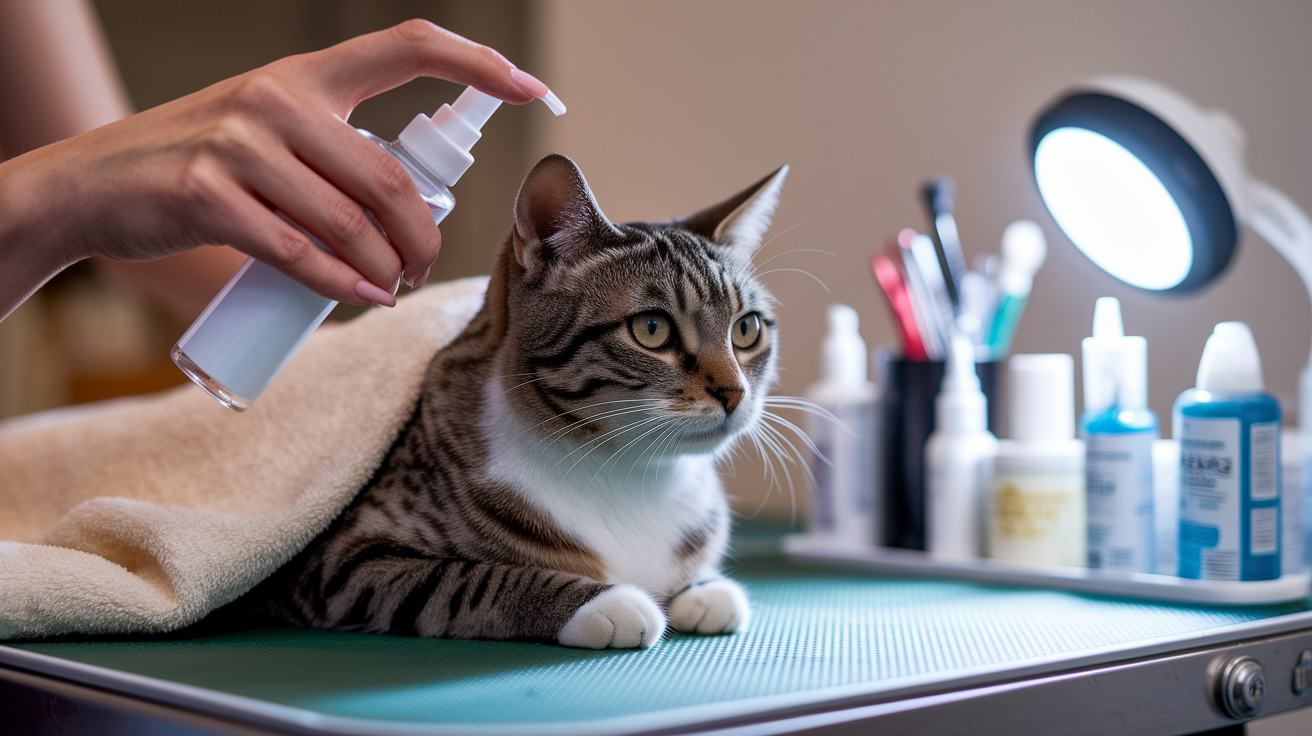
Routine at-home ear cleaning makes sense only when you can see visible wax or light debris in ears that otherwise look healthy. Before you start anything, spend 10 to 20 seconds doing a quick pre-check. Look at the color of the inner ear flap (it should be pale pink), check for minimal odor, and gently touch the base of the ear to see if your cat reacts with pain. If the ear looks inflamed, feels hot, or your cat pulls away in distress, stop. Schedule a vet visit instead.
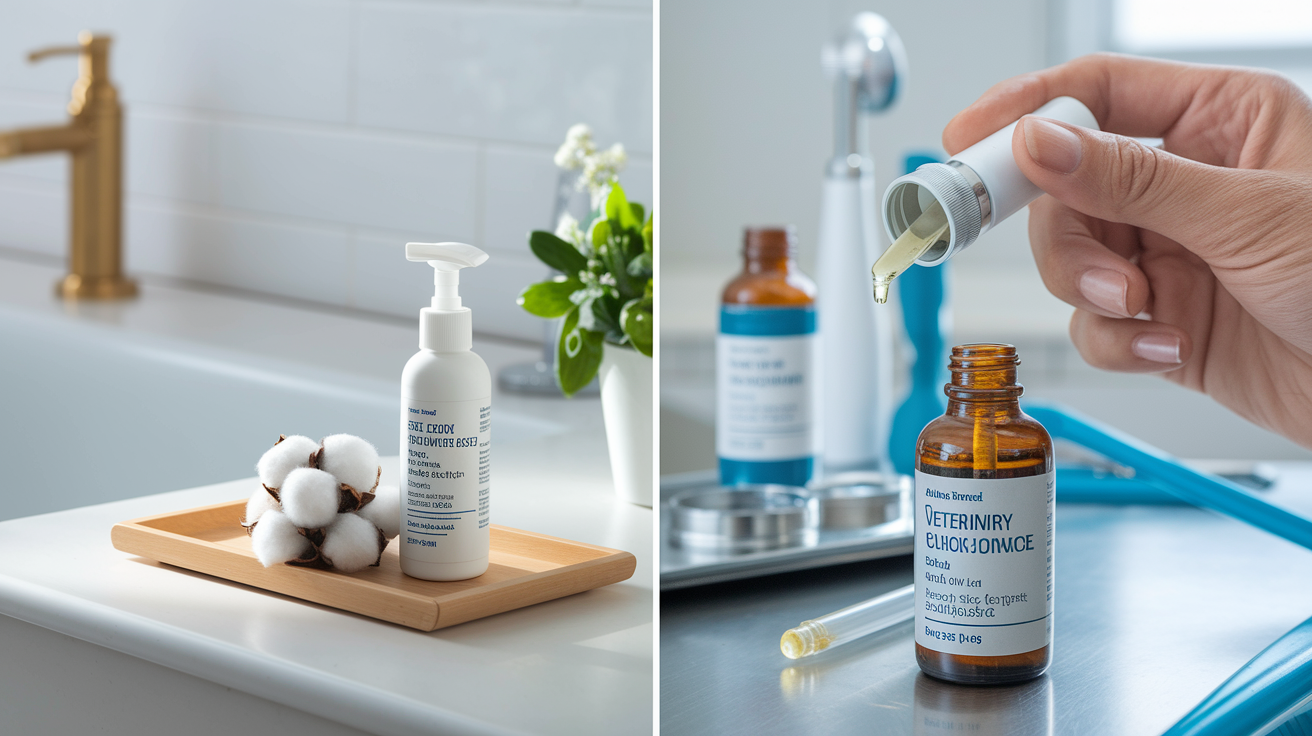
You’ll need a few simple supplies: one bottle (3 to 8 fl oz) of veterinary formulated, fragrance free ear cleaner, 4 to 10 cotton balls or gauze squares, one towel for gentle restraint, and 5 to 10 small treats for positive reinforcement. Keep everything within reach on a clean surface so you can move quickly and calmly. The entire cleaning session should take 2 to 5 minutes per cat, and you shouldn’t need more than two applications per ear in a single session.
Don’t use hydrogen peroxide, rubbing alcohol, white vinegar, or any human ear drops unless your vet has specifically told you to. These products can irritate or burn delicate ear tissue. Never insert cotton swabs (Q-tips) or any pointed object into the ear canal. Stop immediately and contact your vet if you notice severe redness, a strong foul odor, thick yellow or green discharge, heavy bleeding, or if your cat shows signs of intense pain during the pre-check.
Step-by-step cleaning procedure:
-
Prepare your space and cat. Sit in a quiet room with your supplies ready. Place your cat on your lap or a stable table, and gently wrap a towel around their body if needed. Have a second person available if possible. This prep phase takes about 1 to 2 minutes.
-
Inspect both ears carefully. Use a phone flashlight to look at the ear canal entrance for 10 to 20 seconds. Check for color, amount and type of wax, any unusual odor, and your cat’s reaction to gentle touch.
-
Apply the ear cleaner. Hold the bottle 1 to 2 cm from the ear opening without inserting the nozzle. Squeeze 3 to 5 drops for a small cat or up to 5 to 10 drops for a larger cat directly into the ear canal entrance. Don’t force large volumes. Aim for just enough to coat the visible canal.
-
Massage the ear base. Gently massage the base of the ear (the part that feels like cartilage below the ear opening) for 20 to 30 seconds. You should hear a soft squishing or sloshing sound as the solution loosens wax and debris.
-
Let your cat shake their head. After massaging, release your hold slightly and allow your cat to shake their head once or twice. This natural motion helps bring debris up and out of the ear canal.
-
Wipe away visible debris. Use a cotton ball or gauze square to gently wipe the ear flap and the visible entrance of the canal. Use 1 to 2 cotton balls per wipe, and repeat 2 to 4 times until the cotton comes away relatively clean. Never push deeper than you can see.
-
Dry the ear gently. Use a fresh piece of gauze to blot any remaining moisture from the ear flap and canal entrance. Leaving the ear wet can create an environment for bacteria or yeast to grow.
-
Reward and move to the other ear. Offer 1 to 3 treats immediately, check both ears, and repeat the process on the second ear if needed. If your cat becomes highly stressed or struggles intensely, stop the session and try again later or talk to your vet for help.
Understanding Normal vs Problematic Cat Ear Conditions
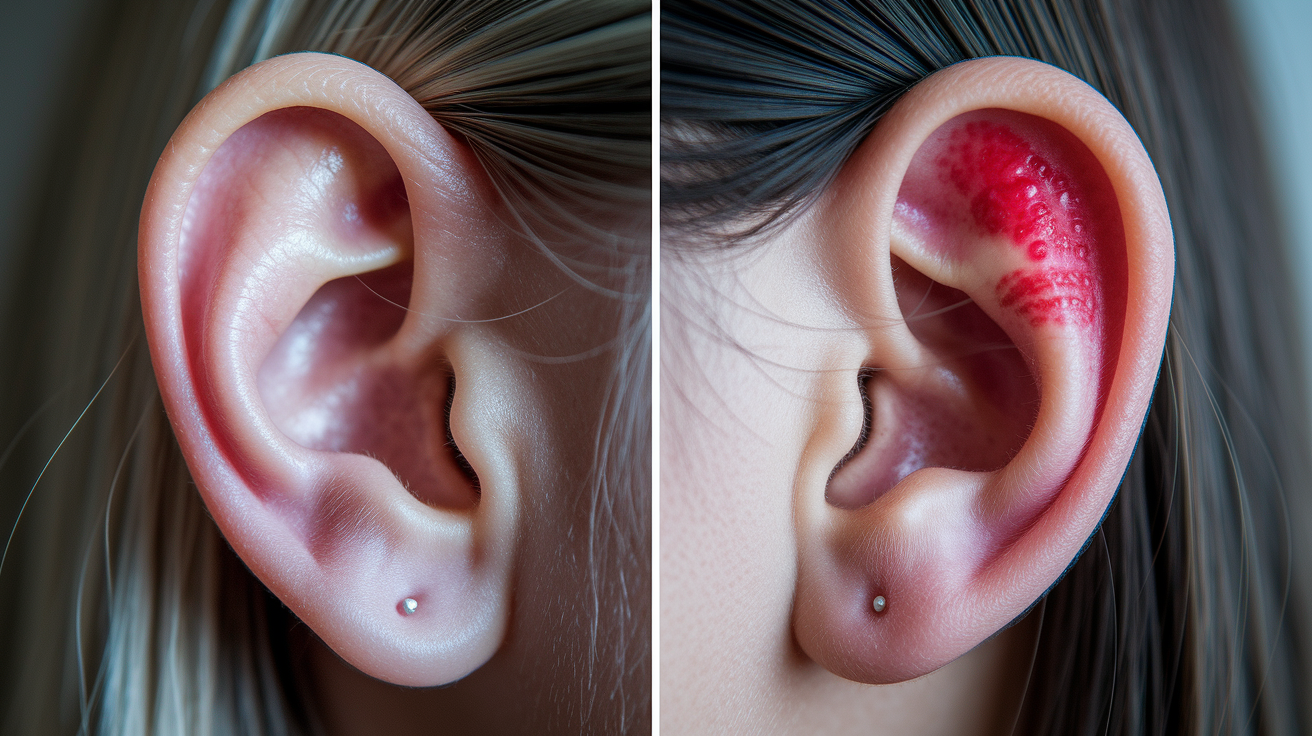
Healthy cat ears have pale pink inner ear flaps with minimal odor and only a small amount of light tan or pale brown wax near the entrance. The skin should feel smooth and cool to the touch, and your cat should tolerate gentle handling without flinching or pulling away. If you see these signs during your 10 to 20 second pre-check, it’s safe to proceed with routine cleaning if visible wax or debris is present.
Abnormal ears show clear warning signs that home cleaning isn’t appropriate. If the ear flap is red, swollen, or hot to the touch, if there’s a strong foul or yeasty odor, or if you see thick dark debris that looks like coffee grounds (a common sign of ear mites), your cat needs veterinary attention, not a home cleaning session. Yellow or green pus, bleeding, visible crusts, or any sign that your cat is in pain when you gently touch the ear base are all red flags that require professional diagnosis and treatment.
Red flags that require veterinary care within 24 to 48 hours:
- Heavy bleeding or fresh blood in the ear canal
- Severe swelling or heat radiating from the ear
- Thick yellow, green, or gray discharge that smells strongly foul
- Dark, crumbly “coffee ground” debris throughout the ear (possible ear mites)
- Visible foreign object, mass, or growth inside the ear
- Intense pain when you lightly touch the ear base or flap
Optional Printable Supplies Checklist

If you want to keep a simple checklist near your grooming supplies, here’s a quick reference for what to gather before each cleaning session. You don’t need expensive or complicated tools. Just a few safe, vet approved items and a calm environment. Having everything ready in advance keeps the session short and reduces stress for both you and your cat.
Basic supplies for one cleaning session:
- 1 bottle (3 to 8 fl oz) of veterinary formulated ear cleaner (fragrance free, non-irritating)
- 6 to 10 cotton balls or 4×4 gauze squares
- 1 soft towel for gentle restraint or lap protection
- 5 to 10 small, high value treats for positive reinforcement
- 1 pair of disposable gloves (optional, for your comfort)
- 1 phone or flashlight for inspecting the ear canal entrance
- 1 phone timer or stopwatch to keep sessions under 5 minutes
Gentle Handling and Restraint Techniques for Safe Ear Cleaning

Most cats tolerate ear cleaning better when they feel secure and can’t see what’s happening behind their head. A calm environment makes a big difference. Choose a quiet room, close the door to keep other pets out, and speak in a soft, steady voice throughout the process. Have your treats visible so your cat associates the session with something positive, and plan to give breaks between ears if your cat starts to squirm or vocalize.
If you’re working alone, try a gentle single person hold: sit with your cat facing away from you, drape the towel loosely over their shoulders, and use your non-dominant hand to hold the scruff lightly (thumb and forefinger only) while your forearm supports their body. This position gives you control without excessive force, and it keeps your cat’s claws away from your face. Keep the session under 5 minutes, and stop if your cat becomes highly agitated or tries to bite.
For cats who resist strongly or have a history of scratching during grooming, a two person method works best. One person holds the cat securely on their lap or wraps them in a towel, while the other person performs the cleaning. This setup minimizes sudden movements and allows the handler to focus on keeping the cat calm with gentle petting and treats, while you focus on the technical steps. Reward your cat with 1 to 3 treats immediately after finishing each ear, even if the cleaning didn’t go perfectly.
Towel Burrito Method
The towel burrito technique is especially helpful for anxious or squirmy cats. Lay a large towel flat, place your cat in the center, and fold one side over their body to cover the front legs, then wrap the other side snugly around so only their head is exposed. Tuck any loose fabric underneath to prevent your cat from wriggling free. This method controls their claws and gives them a sense of containment, which many cats find calming for short procedures. You should be able to access the ears easily for 30 to 90 seconds of work per ear. Unwrap your cat as soon as you finish and offer treats and praise to end the session on a positive note.
How Often to Clean Cat Ears for Healthy Maintenance
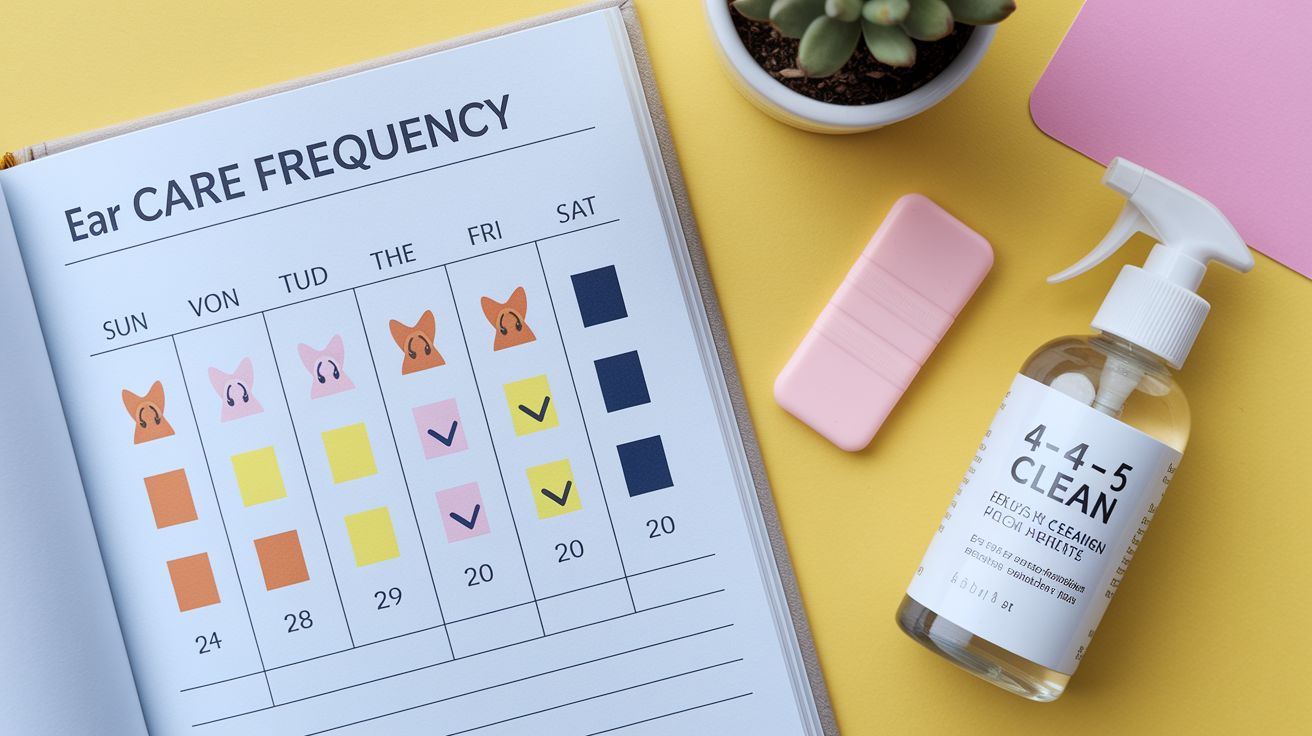
Most healthy indoor cats need routine ear cleaning only when you notice visible wax or debris during regular grooming checks, typically every 4 to 6 weeks. Check your cat’s ears briefly during weekly brushing sessions, and clean only when you see buildup. Over-cleaning can strip natural protective oils and irritate the ear canal, so resist the urge to clean “just in case.” If your cat’s ears stay pink and clean between checks, no cleaning is needed.
Certain cats require more frequent attention. Cats with narrow ear canals, heavy wax production, or breeds with large or folded ears (like Scottish Folds) may need cleaning every 2 to 4 weeks to prevent buildup. Kittens should have their ears checked every 1 to 2 weeks while their immune systems and grooming habits develop, but only clean if you see debris, and use smaller volumes (1 to 3 drops) to avoid overwhelming their tiny ear canals. Never clean your cat’s ears daily or multiple times per week unless your vet has prescribed a specific medicated cleaning regimen as part of treatment for an active infection.
| Category | Suggested Frequency |
|---|---|
| Healthy adult indoor cats | Every 4 to 6 weeks (as needed when visible wax appears) |
| Cats prone to wax buildup or narrow canals | Every 2 to 4 weeks (if recommended by your vet) |
| Kittens | Check every 1 to 2 weeks; clean only when debris is present using 1 to 3 drops |
What Pet Owners Should Avoid When Cleaning Cat Ears at Home

Cotton swabs (Q-tips) are the most common mistake cat owners make during ear cleaning. These tools push wax and debris deeper into the ear canal, pack material against the eardrum, and risk puncturing the delicate tympanic membrane if your cat moves suddenly. Even if you intend to stay near the entrance, the shape and length of a swab make it easy to go too far without realizing it. Stick to cotton balls or flat gauze squares that can’t be inserted beyond the visible portion of the ear canal.
Harsh household liquids like hydrogen peroxide, rubbing alcohol, and undiluted white vinegar can burn or irritate the sensitive skin inside your cat’s ear. These products may seem like logical disinfectants, but they disrupt the ear’s natural pH balance and can cause painful chemical burns, especially if there are any small scratches or inflamed areas you can’t see. Always use a veterinary formulated ear cleaner designed specifically for cats, and never substitute with products from your medicine cabinet unless your vet has given you explicit instructions and dosing.
Never do the following during home ear cleaning:
- Insert cotton swabs, Q-tips, or any pointed objects into the ear canal
- Use hydrogen peroxide, isopropyl alcohol, or straight vinegar unless directed by your vet
- Force ear cleaner into an ear that’s bleeding, severely swollen, or visibly painful
- Attempt to remove deep debris, foreign objects, or masses on your own
- Continue cleaning if your cat becomes extremely distressed, aggressive, or tries to bite
Warning Signs and When to Contact a Veterinarian for Ear Problems
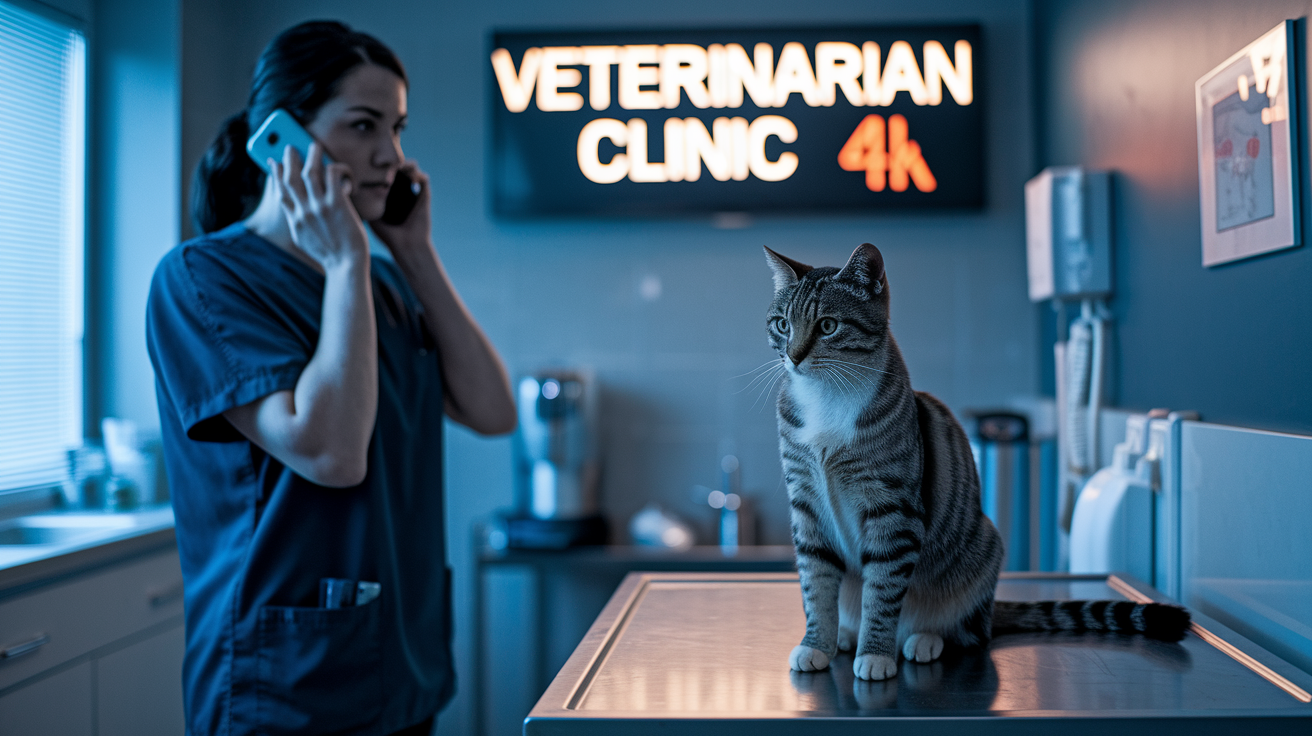
Some symptoms require professional evaluation within 24 to 48 hours, even if you’ve successfully cleaned your cat’s ears at home in the past. Heavy bleeding from the ear canal, a sudden fever, visible swelling that makes the ear flap feel thick or hot, or signs of facial paralysis or drooping on one side are all emergencies that need same day or next business day veterinary attention. If your cat collapses, has a seizure, or shows signs of severe neurological distress along with ear symptoms, seek emergency care immediately.
If you attempt a cleaning session and notice that the debris is getting worse, that bleeding starts during or after cleaning, or that your cat’s symptoms (head shaking, scratching, vocalization) intensify within 24 to 72 hours, stop home care and schedule a vet visit. Persistent symptoms that don’t improve after one or two cleaning sessions suggest an underlying issue that requires diagnosis, such as infection, mites, a polyp, or a ruptured eardrum. Don’t keep cleaning repeatedly in hopes the problem will resolve on its own.
Recurrent ear problems, defined as more than 2 to 3 episodes within six months, warrant a deeper diagnostic workup. Your vet will use an otoscope to examine the entire ear canal and eardrum, may take samples for cytology (microscopic examination) to identify yeast, bacteria, or mites, and may recommend culture and sensitivity testing if infection is suspected. Chronic ear disease often has an underlying cause such as allergies, anatomical abnormalities, or immune system issues, and these root problems must be addressed to prevent ongoing flare-ups.
Red flags requiring veterinary attention:
- Continuous, intense head shaking or pawing at the ear throughout the day
- Severe pain or crying when the ear is touched, even very gently
- Thick yellow, green, or gray discharge with a strong foul odor
- Dark, crumbly debris resembling coffee grounds (often a sign of ear mites)
- Visible bleeding, fresh blood on cotton, or blood-tinged wax
- High fever, lethargy, loss of appetite, or behavioral changes
- Symptoms that persist or worsen 48 to 72 hours after home cleaning
Differences Between Routine Ear Cleaning and Medical Ear Treatment
Routine ear cleaning at home is designed to remove superficial wax and light debris from the outer portion of the ear canal in an otherwise healthy cat. You’re maintaining cleanliness, not treating disease. This type of cleaning uses a gentle, non-medicated ear cleaner, takes only a few minutes, and doesn’t require follow-up unless new symptoms appear. If your cat’s ears stay pink, odor free, and comfortable between cleanings, you’re doing maintenance care correctly.
Medical ear treatment is needed when an infection, parasites, a foreign body, or other disease process is present. In these cases, your vet will prescribe specific medications, often including antibiotic or antifungal ear drops, anti-inflammatory drugs, or anti-parasitic treatments. Medical cleaning may be performed under sedation to allow deep flushing of the ear canal, removal of impacted wax or debris, and safe examination of the eardrum. At-home cleaning with an over the counter product won’t resolve these conditions and may delay proper treatment or worsen irritation.
Ear Mites
Ear mites are tiny parasites that live in the ear canal and cause intense itching, frequent head shaking, and dark, crumbly debris that looks like coffee grounds. This debris is a mix of mite waste, blood, and ear wax. Home cleaning won’t eliminate mites. You need a vet prescribed anti-parasitic medication (usually topical drops or a spot-on treatment) to kill the mites and their eggs over several weeks.
Yeast & Bacterial Infections
Yeast infections produce brown to yellowish wax with a strong, sweet, or musty odor, and the ear canal often appears red and inflamed. Bacterial infections typically cause yellow or green pus, a foul smell, swelling, and significant pain. Both types of infection require prescription ear drops (antifungal for yeast, antibiotic for bacteria) and sometimes oral medications. Your vet may also recommend a medicated ear rinse to use before applying the drops.
When Sedation or Professional Cleaning Is Needed
If your cat has a severe buildup of wax or debris, a suspected foreign body (such as a grass seed or small object), an ear polyp, or a history of aggressive behavior during handling, your vet may recommend sedation or anesthesia for a thorough ear cleaning and examination. Sedation allows complete visualization of the ear canal and eardrum, safe removal of impacted material, and precise delivery of medication without causing pain or stress. This level of care is beyond what any owner can safely provide at home.
Helpful Visual Aids to Support Safe Cat Ear Cleaning

Before you attempt your first at-home ear cleaning, watching a short demonstration video can significantly improve your confidence and technique. Look for videos that are 2 to 4 minutes long and produced by licensed vets or veterinary hospitals, not by general pet influencers. A good demonstration will show close-up shots of each step so you can see exactly where to place the cleaner bottle, how much pressure to use during massage, and how to wipe without inserting anything into the canal.
The most useful videos include clear timestamps so you can review specific steps multiple times. For example, expect to see ear inspection from 0:15 to 0:40, the correct angle and technique for applying drops from 0:40 to 1:10, the 20 to 30 second massage motion from 1:10 to 1:40, proper wiping technique from 1:40 to 2:00, and a summary of red flag symptoms that require veterinary care from 2:00 to 2:30. Videos that show both single handler and two person restraint techniques are especially helpful because they give you options depending on your cat’s temperament and whether you have assistance available.
What to look for in a quality demonstration video:
- Close-up, well-lit shots of the ear anatomy and cleaning steps
- Clear narration explaining why each step matters and common mistakes to avoid
- Demonstration of gentle restraint methods (towel burrito, lap hold, two person technique)
- Examples of healthy ear tissue versus infected or irritated ears
- Emphasis on safety limits, such as never inserting objects and recognizing when to stop
Quick At-Home Cat Ear Cleaning Checklist

If you need a fast reference during cleaning sessions, use this numeric checklist to stay on track and ensure you’re following safe, effective steps. Print it out and keep it near your grooming supplies so you can glance at it between ears or if your cat starts to resist. The entire process from start to finish should take no more than 5 minutes per cat.
Seven-step session checklist:
- Gather all supplies on a clean surface: ear cleaner, 4 to 10 cotton balls or gauze, towel, treats, and a timer.
- Inspect both ears for 10 to 20 seconds using a flashlight; stop if you see severe redness, thick discharge, foul odor, or signs of pain.
- Apply 3 to 10 drops of vet approved ear cleaner per ear, depending on your cat’s size and the product instructions.
- Massage the base of the ear gently for 20 to 30 seconds until you hear a squishing sound.
- Allow your cat to shake their head, then wipe the ear flap and visible canal entrance 1 to 3 times with fresh cotton until clean.
- Limit the session to a maximum of 2 applications per ear; if debris remains after two rounds, schedule a vet visit instead of continuing.
- Reward your cat with treats immediately after finishing, and monitor for 30 to 60 minutes for any signs of distress, increased scratching, or behavioral changes.
Final Words
As you squeeze 3–10 drops of vet-approved cleaner into the ear and gently massage for 20–30 seconds, remember the quick 10–20 second pre-check first. Keep the whole session under 5 minutes and wipe with 1–2 cotton balls per pass.
Use a towel, treats, and a calm helper if you need one. Avoid Q-tips and stop for severe redness, foul odor, pain, heavy discharge, bleeding, or swelling—call your vet right away.
You’ve got a simple, safe routine now for how to clean cat ears at home.
FAQ
Q: What can I use at home to clean my cat’s ears? Can I use peroxide to clean my cat’s ears?
A: A vet-approved ear cleaner with soft cotton or gauze is what you can use at home; do not use hydrogen peroxide or alcohol, which can irritate. Call your vet for pain, bleeding, foul odor, or heavy discharge.
Q: How to get rid of brown stuff in cat’s ears? Should I clean the black stuff out of my cat’s ears?
A: Brown wax can often be wiped away gently with a cotton ball, but black, coffee-ground debris or a strong foul smell may signal mites or infection. Stop home cleaning and see a vet for those signs.