
Is a bleeding paw pad an emergency or something you can handle at home?
Breathe. Quick, calm first aid often makes the difference.
This post gives clear, step-by-step actions: stop the bleeding, clean the wound, bandage safely, manage pain, and spot signs of infection.
You’ll get specific timing to watch, what to do today, and clear red flags that mean call your vet now.
If you can only do one thing right away, learn the simple pressure and bandage routine that keeps most dogs from worsening.
What To Do Immediately When Your Dog’s Paw Pad Is Injured
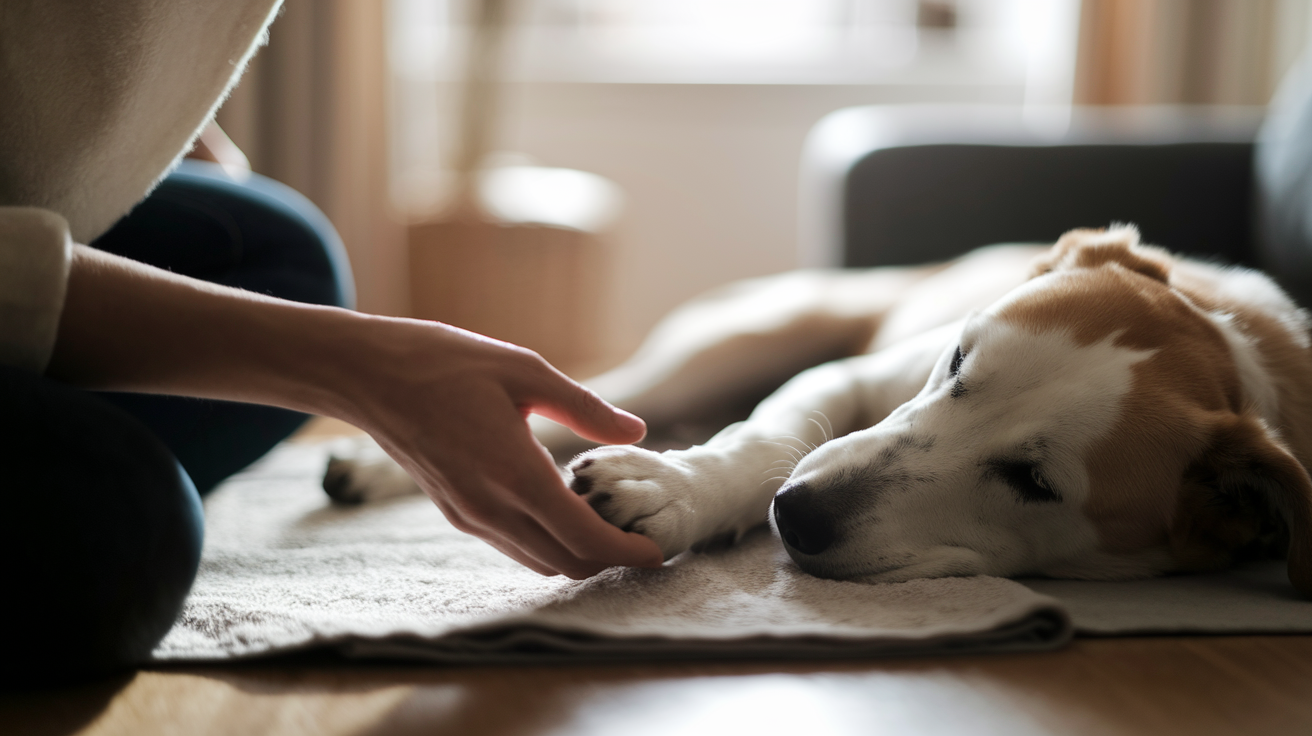
The second you spot your dog limping or notice blood on the floor, take a breath and get to a quiet spot with decent lighting. You need to look at that paw without everything feeling chaotic.
If your dog’s in serious pain or snapping when you get close, don’t push it. A soft muzzle helps. Or having someone gently hold your dog’s head while you check things out. But if your dog won’t let you anywhere near the paw? Skip trying to be the hero and just go to the vet.
Pad cuts bleed a lot. Like, more than you’d think. That’s because pads have tons of blood vessels running through them. Grab a clean towel or a thick wad of paper towels and press it right on the wound. Hold it there for five solid minutes without peeking. Ten is better if the bleeding looks moderate.
After you’ve got the bleeding under control, actually look at what you’re dealing with. Check the bottom of the pad, the top of the paw, between every toe. Is it a scrape? A deeper slice? A flap of torn tissue hanging off? Something stuck in there? What you see in that quick check tells you whether this is something you can manage at home or if you need to move fast toward emergency care.
Quick first steps:
- Stop bleeding with direct pressure using a clean cloth, hold for 5 to 10 minutes straight.
- Check the whole paw. Top, bottom, between toes. Look for cuts, punctures, objects, torn sections.
- Pull out only small surface stuff with clean fingers or tweezers. Leave anything deep alone.
- Wrap the paw loosely in a clean towel or light bandage so dirt stays out and your dog can’t lick it.
- Keep your dog calm and still. Crate rest or a small quiet room works while you figure out next steps.
How To Properly Clean a Dog Paw Pad Injury
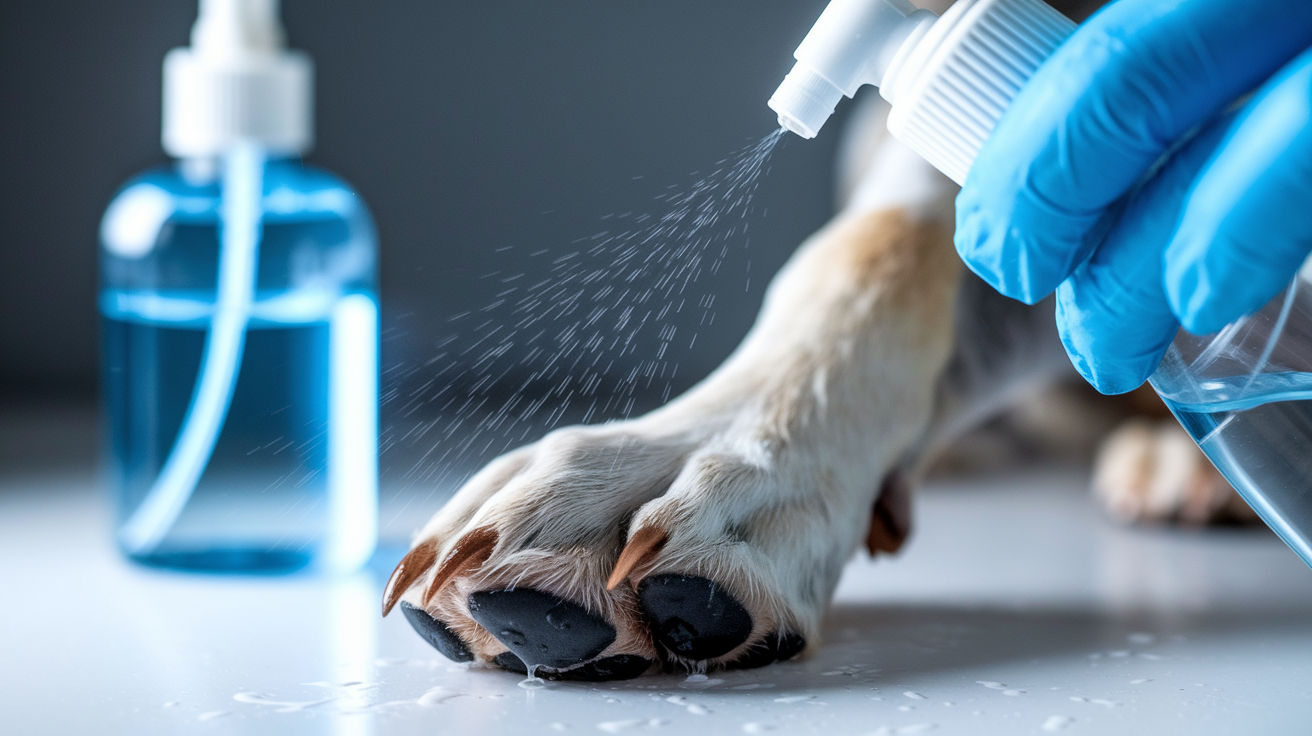
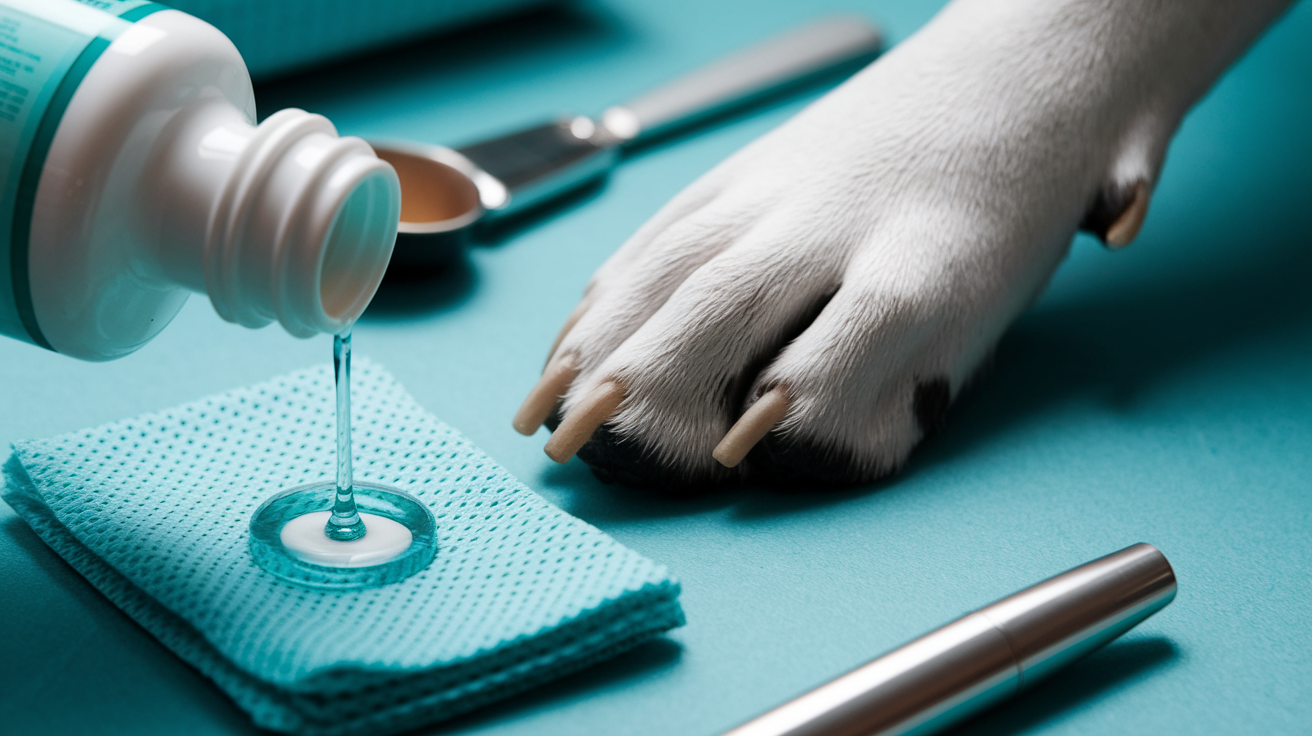
Once the bleeding’s slowed down or stopped, you need to clean the wound. This cuts down infection risk and lets you see what’s actually going on under all that blood and dirt. Use lukewarm water or sterile saline. Not hot, not freezing. Pour or squeeze it gently over the wound for at least two minutes to flush out dirt, grass bits, tiny rocks, dried blood.
A spray bottle works great. Or a big syringe without the needle. You want enough pressure to wash debris away, but not so much that you’re driving particles deeper into the tissue. After rinsing, pat the area dry with a clean towel or gauze pad. Don’t scrub.
For antiseptic, dilute povidone-iodine (that brown iodine stuff) about one part solution to nine parts clean water. It should look like weak tea. You can also use pet-safe chlorhexidine if you follow the label. Apply once after the first cleaning, then follow whatever your vet says for ongoing use. Don’t keep using hydrogen peroxide or rubbing alcohol. Both can damage healthy tissue and actually slow healing if you use them over and over.
Cleaning supplies that work and stuff to skip:
- Safe to use: Sterile saline, lukewarm tap water, diluted povidone-iodine (1:10 ratio), pet-safe chlorhexidine solution.
- One time only: Hydrogen peroxide and rubbing alcohol. Use once if you have to, then stop.
- Never touch the wound with: Undiluted iodine, household cleaners, scented soaps, any cream that’s not wound-safe.
- Good to have around: Clean gauze pads, a spray bottle or large syringe for flushing, soft towel for drying.
Bandaging and Protecting the Injured Paw Pad
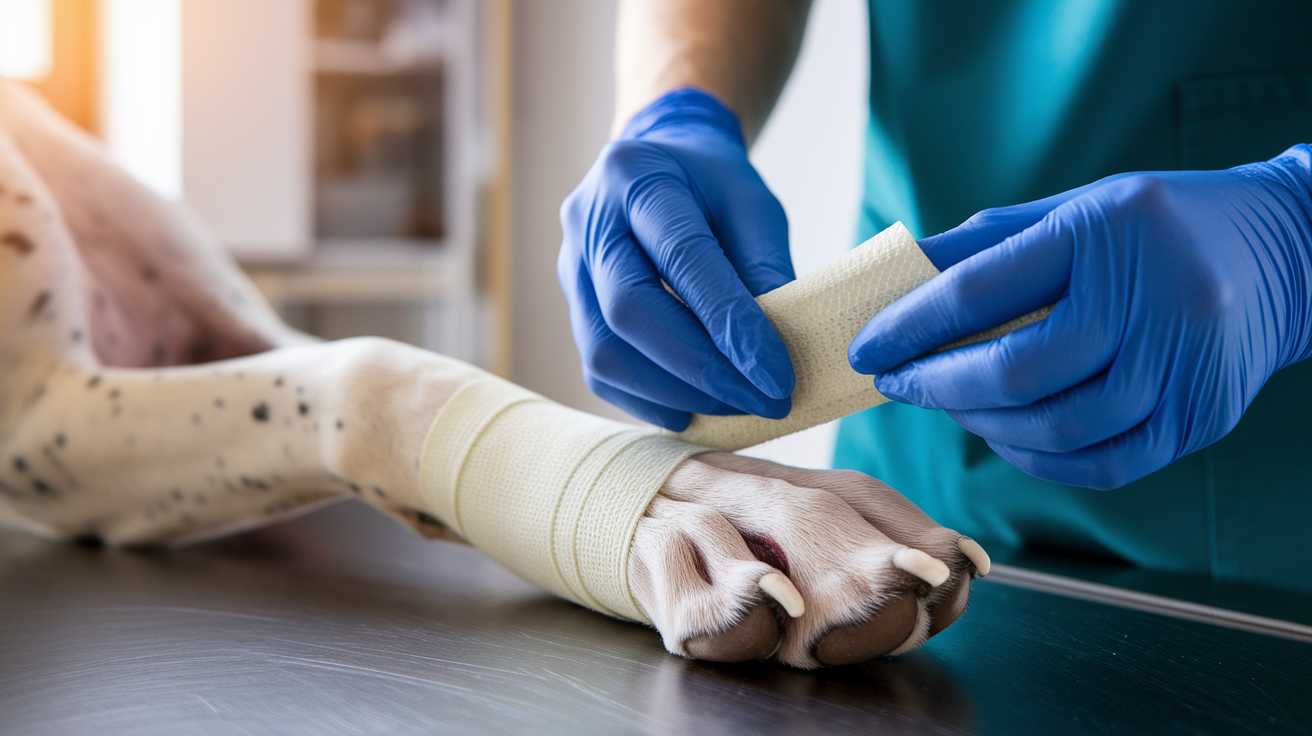
A decent bandage keeps the wound clean, soaks up any oozing, and stops your dog from licking or chewing the injury. Start with a sterile, non-stick pad right over the cleaned wound. This pad keeps gauze fibers from sticking to raw tissue, which makes bandage changes way less painful.
Next, wrap the paw with soft gauze to hold that pad in place and add a little cushioning. Don’t yank it tight. Just snug enough that the pad won’t slide around. Then add a layer of self-adhesive wrap (vet wrap, cohesive bandage, whatever you call it), starting at the toes and working up toward the ankle. Leave the very tips of the toes visible so you can check circulation. If the toes start swelling, turn cold, or look dark, the bandage is too tight and you need to take it off right away.
How to bandage step by step:
- Put a sterile non-stick pad flat over the wound, covering the whole injured spot.
- Wrap one layer of soft gauze around the paw to hold the pad without pulling tight.
- Start wrapping self-adhesive wrap at the toes, overlap each turn by about half the width.
- Keep wrapping up to just below the wrist or ankle joint. Keep tension even and gentle.
- Finish with one piece of adhesive medical tape around the top edge so the wrap doesn’t slip down.
- Check that you can slide one or two fingers between the bandage and the leg at the top, and that toes stay warm and pink.
Change the bandage every 24 hours. Sooner if it gets wet, dirty, or starts smelling funky. Each time you swap it out, look at the wound for signs it’s healing. Less redness, new pink tissue forming at the edges. Keep the bandage dry. Use a plastic bag or waterproof bootie for super short potty breaks, then take the cover off right away so air can reach the wrap and moisture doesn’t build up.
When To Call a Veterinarian
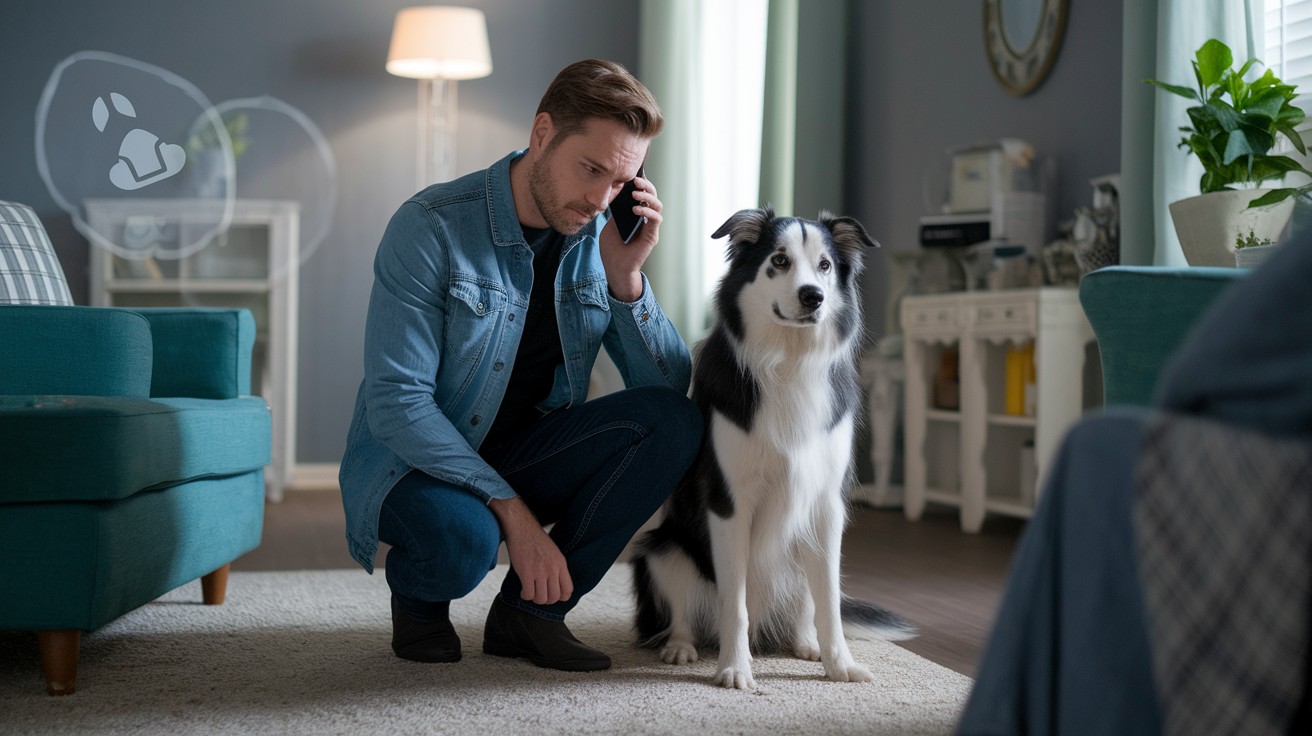
Some paw injuries heal just fine at home with basic first aid and daily bandage swaps. Others need a vet to evaluate, stitch, X-ray, or prescribe meds for proper healing. If you’re not sure, call and describe what you’re seeing. Most clinics can tell you over the phone whether you need to come in now or keep watching at home.
Bleeding that doesn’t slow down after 10 to 15 minutes of steady pressure is an emergency. So is a deep cut where you can see white fat, pink muscle, or the dark line of a tendon. Big flaps of torn pad, puncture wounds from nails or sharp stuff, and anything where bone or joint might be involved all need same-day or emergency care.
Keep an eye out for infection starting up. This can happen even with injuries that looked minor at first. Redness spreading beyond the original wound, swelling that gets worse instead of better after a day or two, pus or thick yellow gunk, bad smell, heat radiating from the paw. All of that means bacteria are winning. If your dog spikes a fever above 103°F, stops eating, or gets lethargic, call your vet immediately.
Warning signs that need a vet:
- Bleeding that keeps going steadily for more than 15 minutes even with direct pressure.
- Deep cuts with visible fat, tendon, muscle, or bone showing.
- A torn flap of pad tissue, especially if it’s large or hanging loose.
- Stuck foreign objects like glass, metal, thorns, fishhooks that you can’t easily pull out.
- Pain, swelling, redness, pus, or foul smell getting worse within 24 to 48 hours after the injury.
Pain Management Options for Paw Pad Injuries

Paw pad injuries hurt. Your dog might limp, hold the paw up, whimper when putting weight on it, or flat out refuse to walk. While you’re managing the wound at home, you also need to manage the discomfort. But pain relief for dogs isn’t the same as for humans, and a bunch of common human meds are dangerous or even deadly for dogs.
Don’t give ibuprofen, naproxen, aspirin, or acetaminophen unless your vet specifically told you to and gave you the exact dose. These drugs can cause stomach ulcers, kidney failure, liver damage, or serious bleeding problems in dogs. Even small amounts. Same goes for any human prescription pain meds sitting in your cabinet from your own injuries. Never share.
Your vet can prescribe dog-safe pain relievers like carprofen or meloxicam. Both are anti-inflammatory meds made for canine use. For worse pain, your vet might add a short course of tramadol or another prescription option. At home, you can help by keeping your dog calm and resting. A quiet, soft bed in a low-traffic room cuts down on movement and lets the paw heal with less strain. Cold packs wrapped in a thin towel and applied for 10 to 15 minutes every few hours during the first day or two can reduce swelling and give some comfort. Just don’t make the pack too cold or leave it on too long.
Preventing Infection During Healing
Infection is one of the biggest threats during paw pad healing. Dogs walk on the injury, bandages get dirty, and the warm, moist space under a wrap is perfect for bacteria to grow. Your job is keeping that environment as clean and dry as you can while the wound closes up.
Change the bandage every 24 hours. Sooner if it gets wet, dirty, or starts smelling off. Every time you pull off the old bandage, clean the wound again with lukewarm water or saline and look closely for changes. Healthy healing looks like less redness, wound edges pulling together, pink or light-colored new tissue showing up. Infection looks like redness spreading outward, swelling getting worse, thick yellow or green gunk, bad smell, or tissue that looks gray or black.
Stopping your dog from licking or chewing the bandage is critical. One solid chewing session can introduce mouth bacteria deep into the wound and set healing back by days or weeks. An Elizabethan collar (the plastic cone) is the most reliable choice and should stay on full time until the bandage is off for good and the wound is fully closed. Some dogs do better with soft fabric cones or inflatable donut collars, but only use those if your dog truly can’t reach the paw. Lots of flexible collars still let a determined dog twist around and lick.
Daily habits that cut infection risk:
- Swap the bandage every 24 hours and right away if it gets wet, dirty, or smells bad.
- Clean the wound with lukewarm water or saline at each bandage change and check for spreading redness, pus, or odor.
- Keep an Elizabethan collar or similar barrier on your dog at all times to stop licking or chewing.
- Use a waterproof bootie or plastic bag during very short potty breaks only. Take it off as soon as your dog’s back inside to let air flow and prevent trapped moisture.
Typical Healing Timeline and What To Expect
Minor scrapes and shallow abrasions on a paw pad usually heal within 7 to 10 days if you keep them clean and protected. You’ll see the raw area starting to dry out, new skin forming at the edges, your dog putting more weight on the paw as soreness drops. These small injuries often don’t need a vet visit if they respond well to home care in the first two or three days.
Deeper cuts take longer. Especially ones that go partway or all the way through the pad. Partial-thickness wounds that don’t expose tissue underneath typically need two to four weeks to close and toughen up enough for normal activity. Full-thickness tears, punctures, or cuts that needed stitches or surgical repair can take four to eight weeks or more. Sometimes healing continues for several months before the pad fully gets back to normal texture and toughness.
How fast your dog heals depends on the severity, your dog’s age and overall health, how well you manage bandaging and activity limits, and whether things like infection or repeated re-injury happen. A wound that gets licked open, a bandage that stays wet for hours, or a dog that won’t rest can all reset the healing clock. On the flip side, consistent care, strict rest, and close watching usually lead to steady, visible progress week by week.
Activity Restrictions During Recovery
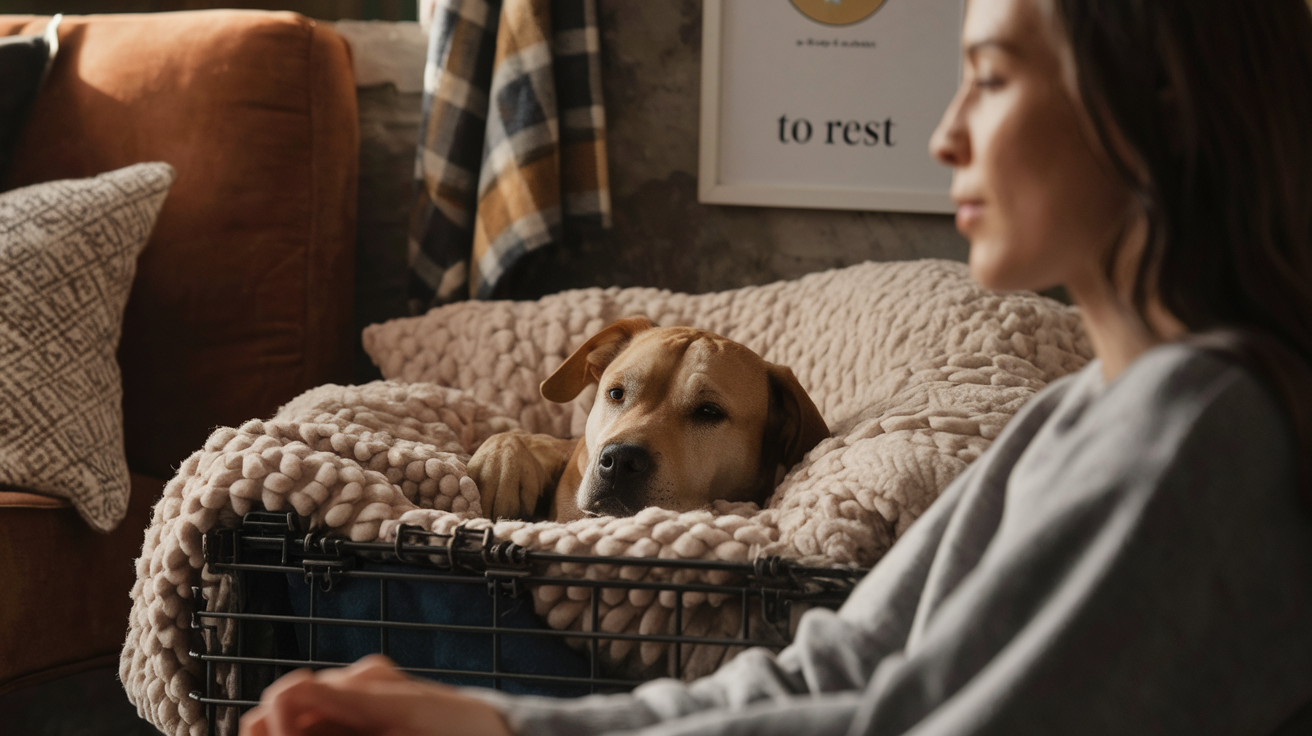
One of the hardest parts of paw pad injury care is keeping an active dog calm and still. But every time your dog runs, jumps, or puts full weight on a healing pad, the wound edges pull apart a bit, new tissue tears, and healing starts over. Strict rest isn’t optional if you want the paw to heal fast and completely.
For the first 48 to 72 hours, crate rest or confinement to a very small, carpeted space is ideal. Your dog should only leave that area for short, slow leash walks to go potty. No more than five minutes at a time. After the first few days, if the wound looks stable and your vet agrees, you can allow slightly longer leash walks on flat, smooth surfaces. But keep it slow, calm, and under 10 minutes until the wound is visibly closing.
Things to avoid until your vet clears your dog:
- Running, sprinting, or any off-leash exercise. Even in a fenced yard.
- Jumping on or off furniture, stairs, or in and out of cars.
- Playing with other dogs, wrestling, or any rough, fast movement.
- Walking on gravel, sharp rocks, hot pavement, icy sidewalks, or uneven trails that could re-injure the healing pad.
How To Prevent Future Paw Pad Injuries
Once your dog’s paw has healed up, a few simple habits can cut down the chance of another injury. Check your dog’s paws every day, especially after walks or hikes. Look between the toes for cuts, thorns, burrs, or small stones. Feel the pads for cracks, dryness, or rough spots that could split open under pressure.
Extreme temps are a major cause of paw pad burns and frostbite. In summer, test pavement with the back of your hand for seven seconds. If you can’t comfortably hold your hand there, it’s too hot for your dog’s paws. Walk early morning or late evening when surfaces are cooler. In winter, rinse your dog’s paws with lukewarm water after every walk to remove ice-melting salts and chemicals that can cause chemical burns or irritation. Then dry the paws completely.
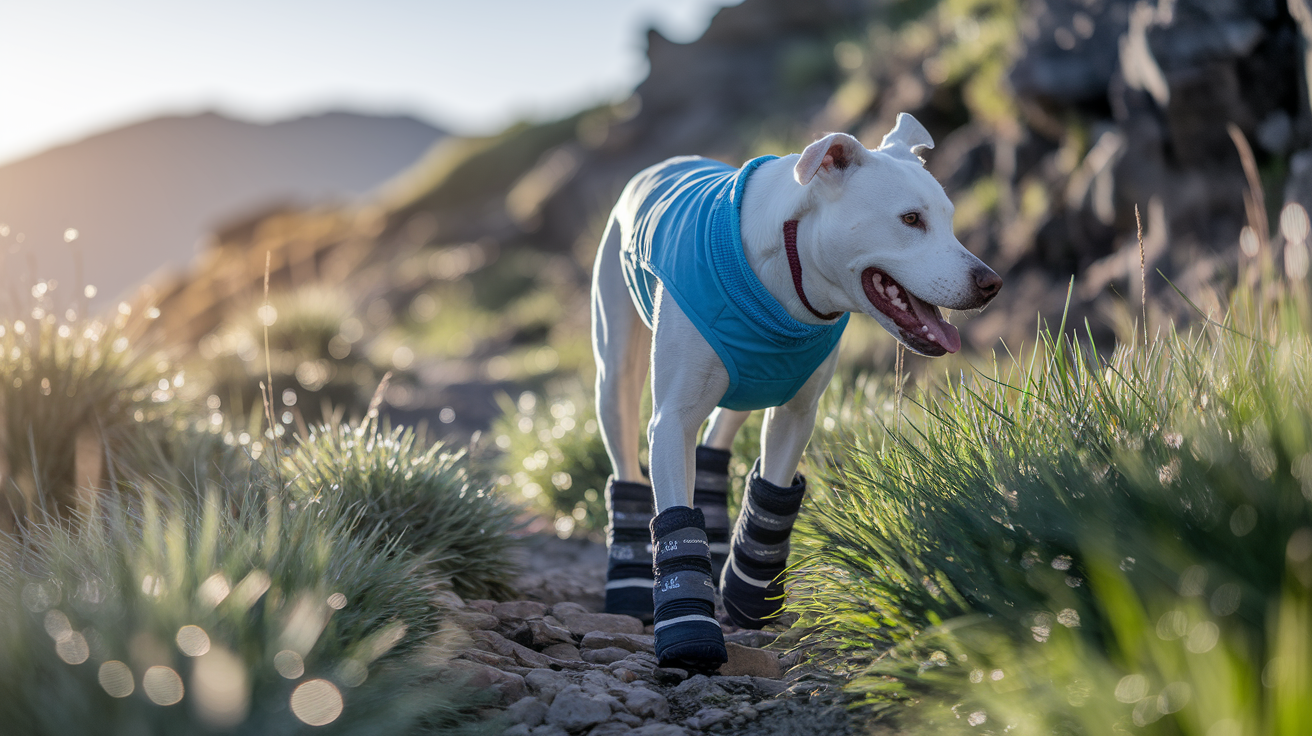
Dog booties are one of the best prevention tools for extreme weather, rough terrain, or post-injury protection. Thin rubber booties like PawZ work well for temperature protection and keeping bandages dry. Thicker fabric or neoprene booties cushion against sharp gravel and rocks. Let your dog wear them indoors for a few minutes each day before the first real walk so they get used to the feeling. Trim your dog’s nails monthly to stop overgrown nails from pushing into the pad or snagging on surfaces, and keep the hair between the pads trimmed short to reduce matting and debris buildup.
Five practical prevention tips:
- Check paws daily for cuts, cracks, stuck debris, and early signs of wear or injury.
- Skip walking on hot pavement above 85°F or icy, salted sidewalks. Test surfaces with your hand first.
- Use protective dog booties during extreme weather, rough trails, or right after an injury while healing is still fragile.
- Rinse and dry paws after every walk in winter or after hikes to get rid of salt, chemicals, and sharp plant material.
- Trim nails and pad hair monthly to prevent overgrowth, snagging, and painful pressure on the pads.
Final Words
Act quickly: stop the bleeding, rinse debris, apply gentle pressure, pad and wrap, and keep your dog calm while you assess the wound.
This post walked through cleaning tips, safe bandaging, pain choices, infection prevention, realistic healing times, activity limits, and simple prevention habits.
If bleeding won’t stop, the wound looks deep or torn, your dog won’t put weight on it, or you see swelling or foul odor, call your vet right away.
Use these steps for confident dog paw pad injury care — daily checks and short rest can help your dog heal well.
FAQ
Q: Will a dog’s paw pad heal on its own?
A: A dog’s paw pad may heal on its own if the cut is small and clean; minor abrasions often improve in 7–10 days with simple care. Call a vet for deep cuts, heavy bleeding, or infection signs.
Q: How to heal a dog’s ripped paw pad?
A: To heal a dog’s ripped paw pad, gently rinse with lukewarm water or saline, apply pressure to stop bleeding, cover with a clean dressing, prevent licking, and see a vet for deep tears or persistent bleeding.
Q: How do I toughen up my dog’s paw pads?
A: To toughen up your dog’s paw pads, increase short walks on soft natural surfaces gradually, use protective booties on harsh ground, apply vet‑recommended pad balm, and avoid sudden long or extreme‑temperature walks.
Q: Should I wrap a torn paw pad?
A: You should wrap a torn paw pad to control bleeding, keep dirt out, and stop licking—use soft padding and self‑adhesive wrap without tightening, and seek veterinary care for deep or continuous bleeding.